Thursday, March 13, 2014

Mac Lync Client cannot connect to Lync Server 2013

I have experienced some problems with connections to Lync Server 2013 from the Mac client. Here are some basic troubleshooting steps:

Lync Client Version

In order to connect to the Lync Server 2013, you need to update your Lync for Mac with Update for Lync for Mac 2011 - KB2909662

If you have upgraded to Yosemite, you need to update Your Lync for Mac with Update 3007876 for Lync for Mac 2011 - KB3007876
The update will also bring some New functionality to the stage as described in Office Blogs.

CA Root Certificate

If you are using a self-signed certificate from the in-house local CA Certificate on the Lync Front End server, it is likely that you have to install the CA root certificate on the MAC client (because you haven't made the MAC client a member of the domain). You will receive the following message when logging in to the Lync for MAC client: "Sign in to Microsoft Lync failed because the service is not available or you may not be Connected to the Internet".
You can verify that this is related to the certificate by trying to axess the interal URL for DialIn in Safari. This will give the following error message related to the certificate:

In order to fix this, you can download and install the Root CA from Your internal CA. Do this from the CERTSRV web of your in-house CA:


1. Click on "Download CA Certificate"
2. Open the downloaded Certificate


3. Add the Certificate to your System Key Chain.


4. Verify the change in your key chain

Saturday, March 8, 2014

Davis Vantage ProII Red Switch for Tipping Bucket

My Davis Vantage ProII is living in kind of extreme weather conditions, but it has been delivering stable weather data for years and years. The only problem has been related to a battery change during winter time with poor lighting conditions for the solar Power.

For almost a year ago I did experience problem with the tipping bucket registering the rain rate. I have had a hard time finding good information related to this problem, both on the Internet and through the dealer network. I did however get a good response from the support point at the official Davis web page - the problem could be caused by a broken red switch at the tipping bucket!

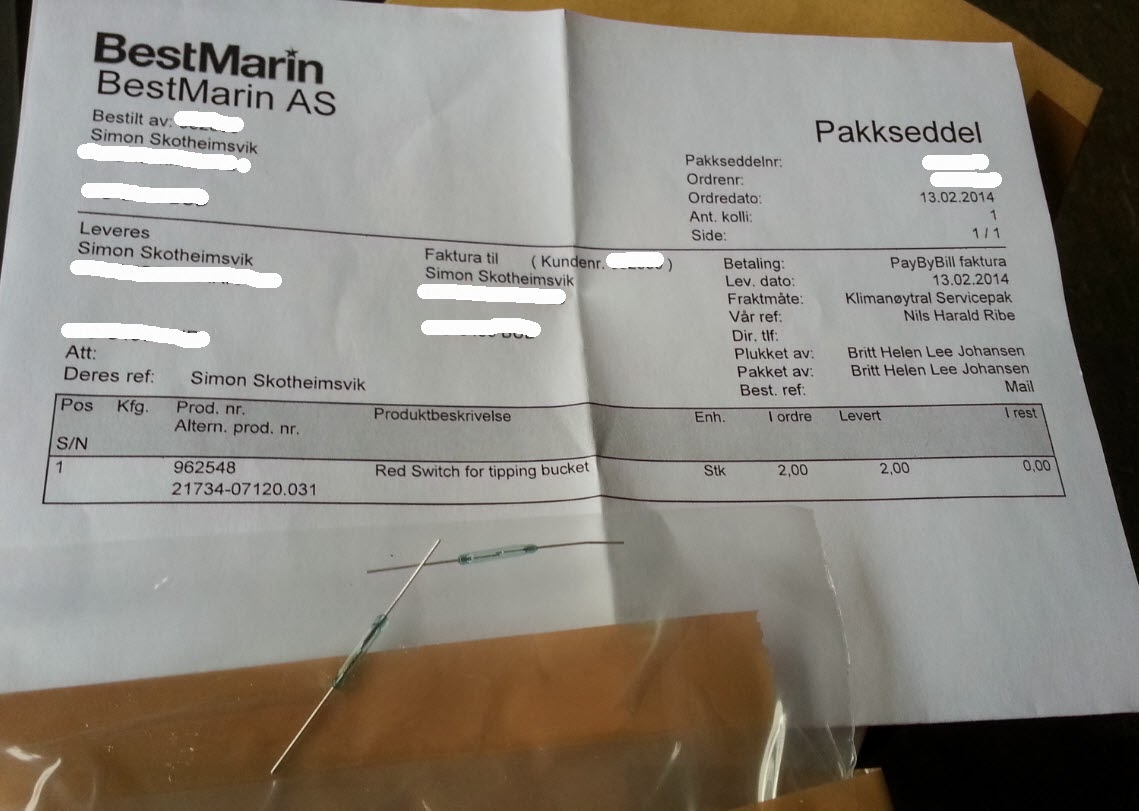
The Norwegian dealer was contacted, and after a couple of months I had 2 red switches delivered!

The mounting of the Red switch into the tipping bucket is not well documented online. Here are some photos describing the process:


Remove the tipping bucket by pressing the plastic base gently to the sides, removing the axle

Remove the tipping bucket base from the base unit by firmly pressing the two latches

The red switch is located under the red switch cover

Release the red switch cover from the bottom side of the tipping bucket base

Remove the red switch cover

Use a soldering iron to change the red switch
 
 
When the weather station has been assembled, you can actually hear a tiny "tick" once the tipping bucket is passing through the red switch. This tick was not present at my weather station prior to this fix.
 
My weather station is now as good as new, and the weather situation is captured and published directly to the internet by use of the Hautespot HauteWIND HR-IXPWINDi appliance! 
 
There are some good description of other Davis Hardware fixes at irelandsweather.com.

Windows 8 from DVD to USB to Computer

It's classic: Your brand new computer is preinstalled with Windows7. The new Windows8 is attached on a dinosaur medium called DVD, which newer computer can't read due to no DVD drive!

In order to get out of this headache, you need your old computer with the DVD drive and a USB thumb drive (8Gb drive for 64 bit OS).

  1. Start CMD on your old computer.
    1. Start DISKPART
    2. Type LIST DISK and note the disk number of the drive you want to make bootable.
    3. Type SELECT DISK 2 (replace "2" with Your USB disk number).
    4. Run CLEAN followed by the following commands:
      CREATE PARTITION PRIMARY
      SELECT PARTITION 1
      ACTIVE
      FORMAT FS=NTFS QUICK
      ASSIGN
      EXIT
    5. You now have a new disk drive opened in Windows Explorer
  2. Copy all the files from the Windows 8 DVD onto this new drive.
  3. The USB drive should now be bootable with the Windows 8 installation medium.
    1. Boot with F9 on HP EliteBook
You might also need to do make ISO's of any Application and Driver Recovery DVD's following the computer.

Other sources including the use of some freeware in order to perform the same operation:
Lesson learned:
Do not throw away your old computer - you will need it in order to read the backups of you family photo library stored on DVD-R!!